
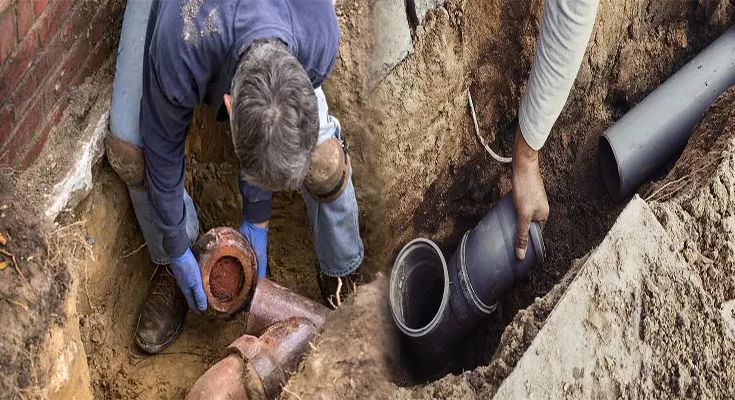
Signs You Need a Sewer Line Repair or Replacement
Sewer lines are an essential but often overlooked component of the home’s plumbing system. They are responsible for carrying wastewater from your home to the municipal sewer system. However, over time, sewer lines can deteriorate or become damaged, leading to various issues. Understanding the signs that indicate the need for a sewer line repair or replacement is crucial for maintaining a properly functioning plumbing system.
1. Persistent Drain Issues
One of the most common signs of a potential sewer line problem is persistent drain issues throughout the house. If you are experiencing slow drains, gurgling noises coming from the drains, or water backing up into the sinks, toilets, or showers, it could be an indication of a clogged or damaged sewer line.
2. Foul Odors
Unpleasant sewage odors lingering in and around your home can indicate a problem with your sewer line. The presence of foul smells, particularly near drains or in the yard, suggests that there may be a leak or break in the sewer line that requires immediate attention.
3. Lush Patches of Grass
Surprisingly, a lush, green patch of grass in your yard could be a sign of a sewer line issue. A leak in the sewer line can act as a natural fertilizer, causing the surrounding grass to grow especially well. If you notice an unusually green and healthy area in your yard, it may be worth investigating for potential sewer line problems.
4. Pests and Rodents
Sewer line issues can attract pests and rodents to your property. Rats, insects, and other pests are attracted to the odor and moisture that emanates from a broken or damaged sewer line. If you notice an increase in pest activity in and around your home, it may be linked to a sewer line problem.
5. Foundation Cracks
In severe …
Signs You Need a Sewer Line Repair or Replacement Read More