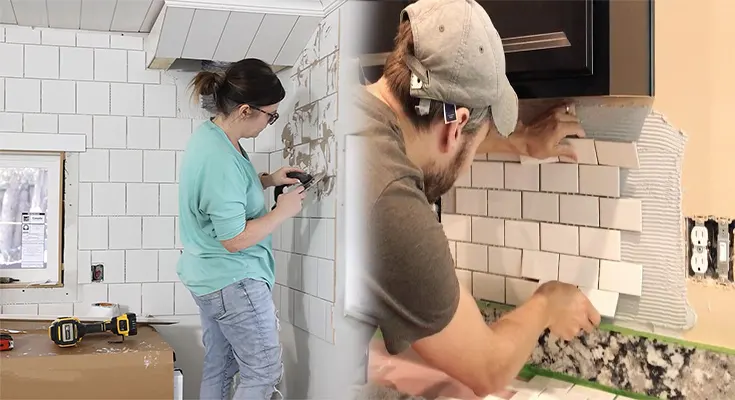
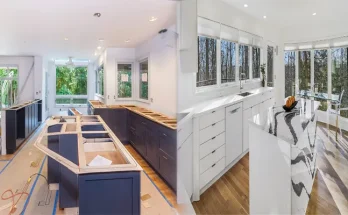
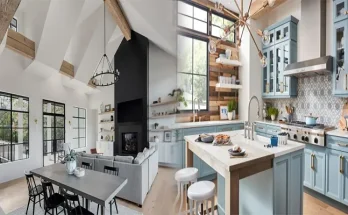
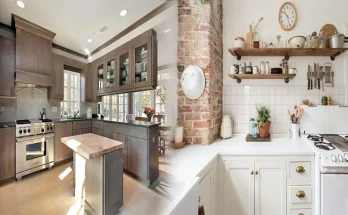
A kitchen backsplash not only adds visual appeal to your kitchen but also serves a practical purpose by protecting the wall from spills and splatters. Installing a backsplash can be a rewarding and cost-effective home improvement project that you can tackle yourself with the right tools and materials. Here’s a step-by-step guide to help you navigate through a DIY kitchen backsplash installation.
Step 1: Planning and Preparation
Before starting the installation, carefully assess the area where you plan to install the backsplash. Measure the space to determine the amount of materials needed. Additionally, ensure that the wall surface is clean, dry, and free of any debris or grease. If necessary, sand the wall to create a smooth and even surface for the backsplash to adhere to.
Step 2: Choose the Right Material
Select a backsplash material that suits your style and budget. Common options include ceramic or porcelain tiles, glass tiles, subway tiles, or peel-and-stick backsplash sheets. Consider the design and color scheme of your kitchen to choose a material that complements the overall look.
Step 3: Gather the Necessary Tools and Materials
Ensure you have all the essential tools and materials for the installation, including tiles or backsplash sheets, adhesive or mortar, tile spacers, trowel, tile cutter, level, grout, grout float, and a sponge for cleanup.
Step 4: Prepare the Adhesive or Mortar
If you are using individual tiles, mix the adhesive or mortar according to the manufacturer’s instructions. Consistency is key, so ensure the mixture is not too thin or too thick.
Step 5: Apply the Adhesive or Mortar
Using a trowel, apply the adhesive or mortar to the wall in a small section where you will begin the installation. Work in manageable areas to prevent the adhesive from drying out before you can install the tiles.
Step 6: Install the Tiles
Place the first tile or sheet carefully into the adhesive, using tile spacers to maintain consistent spacing between the tiles. Ensure the tiles are level and align them according to your desired pattern. Continue adding tiles or sheets, pressing them firmly into the adhesive.
Step 7: Cut Tiles to Fit
As you approach the edges and corners, you may need to cut tiles to fit the space. Use a tile cutter to make accurate cuts, ensuring a precise and clean fit.
Step 8: Apply Grout
Once the tiles are set and the adhesive has dried, it’s time to apply grout. Using a grout float, spread the grout over the tiles, ensuring that all the gaps are filled. Wipe off excess grout with a damp sponge, taking care not to remove too much grout from the gaps.
Step 9: Let the Grout Cure
Allow the grout to set and cure according to the manufacturer’s instructions. This typically involves letting it dry for a specific period before applying a grout sealer to protect the grout from stains and moisture.
Step 10: Clean and Polish
After the grout has cured, use a clean, damp sponge to remove any remaining grout haze from the tiles. Once the backsplash is completely dry, buff the tiles with a soft cloth to bring out their shine.
By following these step-by-step instructions, you can achieve a professional-looking kitchen backsplash without the need for professional installation. Keep in mind that patience and attention to detail are crucial for a successful DIY project. With proper planning and execution, you can create a beautiful and functional backsplash that enhances the aesthetic appeal of your kitchen.


